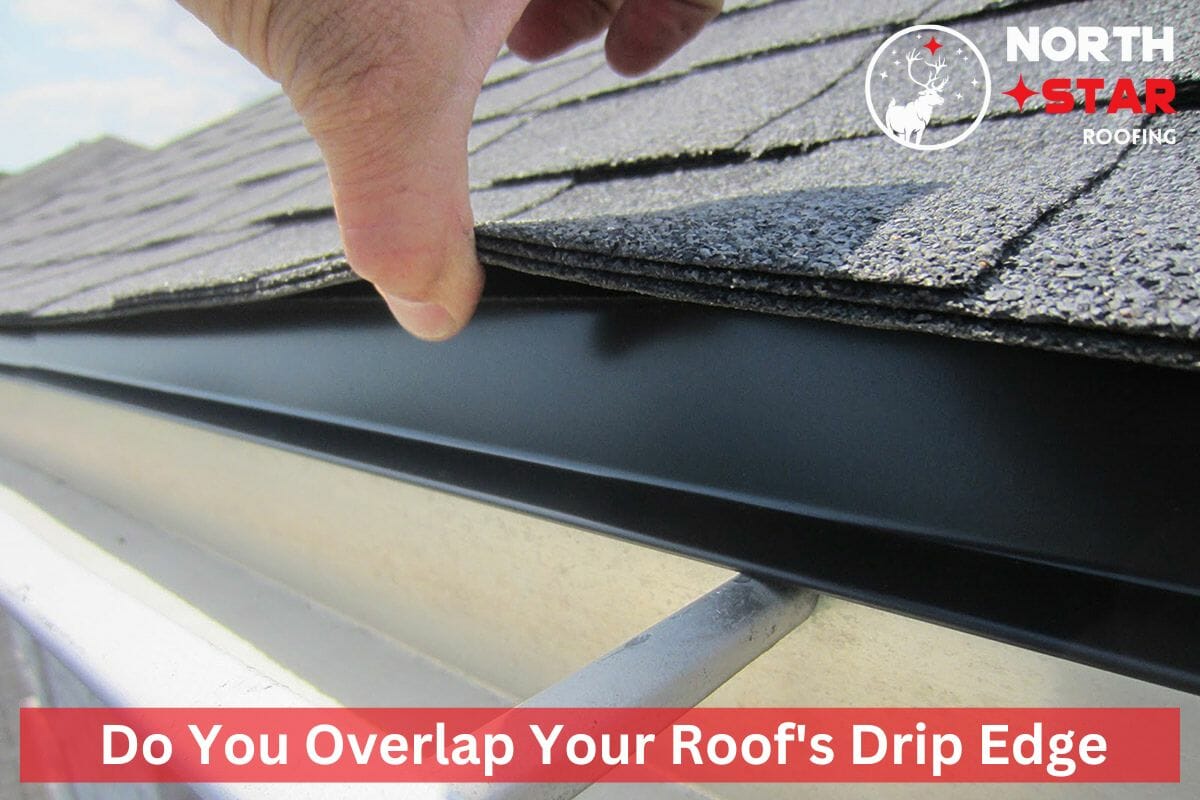
A drip edge is a metal strip that facilitates proper roof drainage by channeling water directly into the rain gutters. Drip edges are installed right below the starter shingles at the roof’s edge, but they must be designed correctly and installed carefully to prevent roof damage.
But what is the ideal shape and length of each drip edge? Are you supposed to overlap drip edges? If you have questions like this in mind, they will all be answered in this article. As a specialist at North Star Roofing, I’m here with a simple guide to drip edge installation.
So let’s get started!
How Do You Properly Overlap and Install Drip Edges On a Roof?
A drip edge is required by most building codes, so it’s not an optional component. This roof edge flashing material is crucial to prevent water leaks and overflow at the gutters. Drip edges have specific requirements for overlapping, nailing, and profiling. Following these guidelines will reduce the need for drip edge repairs or replacements in the future.
Let’s start with the steps you should take to install and overlap roof drip edges properly.
Step 1: Secure the Underlayment
First things first, install the underlayment over the entire roof deck. After that, you can start using drip edges. These flashing strips should be installed properly on each part of the roof edge. You’ll need to buy and cut the metal strips according to the required specifications of your roof and by following your local building codes.
Step 2: Select the Right Type of Drip Edges
Drip edges are available in multiple profiles and materials, such as galvanized steel, aluminum, and copper flashing strips with pre-cut shapes and customizable options. Each type of drip edge has benefits, drawbacks, and compatibility requirements with different roof designs.
You should consider factors like weather conditions, roof slope, and local building codes when selecting the right drip edge. The outer edge should extend over the gutter, possibly covering the fascia, to direct water into the gutter system and prevent it from dripping down the siding or splashing the fascia.
Step 3: Cut and Fold the Drip Edges
To ensure a proper fit of the drip edges along the fascia, it is essential to cut and fold the edges of the flashing strips according to your roof’s specifications. This ensures that the drip edge fits seamlessly and securely in place. Maintain a small gap (about a finger width) between the fascia board and the drip edge to allow for proper water drainage and prevent damage. Customizing the drip edge to fit your roof’s dimensions will improve its ability to divert water away from your home.
Step 4: Align the Drip Edges While Overlapping and Securing Them
When overlapping drip edges, ensure that they are aligned correctly before you start nailing them in place. This will ensure an immaculate appearance finish to the roofline.
Step 5: Measure the Required Overlap
Most building codes require you to have at least a two-inch overlap between adjacent drip edges. Always consult your local residential building codes to determine the specific requirements for your area. This overlapping creates a tight seal, preventing water infiltration and damage to the roof components.
Step 6: Secure the Drip Edges
Use the right size and type of roofing nails to secure the drip edges in place. Make sure the nails go straight through both overlapping strips without bending. I recommend spacing nails approximately 10-12 inches apart. And according to most residential codes, there should never be a gap of more than 16 inches between drip edge nails.
After nailing the drip edges, there’s one important step left to ensure a proper watertight barrier: covering the flashing with an ice and water barrier.
Should an Ice and Water Shield Go Over or Under the Drip Edge?
This is a common question that many homeowners have regarding drip edge installation. The answer is both: you need to install a waterproofing membrane under and over the drip edges. Install an ice and water shield made especially for sealing roof drip edges and adhere to the manufacturer’s guidelines for installation.
After that, it’s time to start laying down the shingles. You should begin with starter shingles that extend past the drip edges.
What are Starter Shingles and How Far Should the Shingles Extend Over the Drip Edge?
Starter shingles, also known as starter strips or the starter course, are specialized shingles used to begin the installation of the main roofing shingles. They are installed before the main shingles, covering the drip edges and ice and water shield. Starter shingles serve multiple purposes:
- They provide a clean, straight edge for the first row of shingles to be installed. This helps ensure a uniform appearance and proper alignment of the following shingle layers.
- Starter shingles have a special adhesive strip or sealant applied along their bottom edge. This helps create a strong bond between the starter shingles and the first row of regular shingles, enhancing wind resistance and preventing uplift in windy conditions.
- Starter shingles also provide more cover to the drip edges, protecting against wind uplift, ice dams, and water infiltration along the roof’s eaves.
It is important to ensure that starter shingles extend at least ⅓ of an inch and not beyond ¾ of an inch past the drip edge. When shingles overhang the roof edge by more than the recommended distance, they lack proper support, which can lead to potential issues like cracking or breaking. Therefore, it is crucial to adhere to the guidelines and avoid excessive shingle overhang to maintain the integrity of your roof.
Before getting started with the project, make sure you know about some common mistakes that are made during drip edge installation.
Common Mistakes to Avoid During Drip Edge Installation

To ensure a successful installation, it’s crucial to be aware of these pitfalls and take necessary precautions. Let’s go over the common installation faults, so you can steer clear of them and confidently install your drip edge with precision and care.
Installing at the Wrong Angle
Install the drip edge at a slight angle, directing water away from the fascia. Improper angling can lead to water accumulation, causing rot and potential leaks.
Improper Sealing
Apply a sturdy and suitable sealant to ensure a watertight connection between the drip edge and the roof. Failure to seal properly can result in water infiltration at the gaps where the nails aren’t present.
Overlapping Errors
It is crucial to follow the guidelines for drip edge overlap. If the drip edges are not overlapped by two inches, there is a high chance of water slipping between them.
The whole process of replacing or installing a roof requires extreme caution and substantial experience. Otherwise, it’s easy to make a mistake or two. The best way to get started with your roofing project is by consulting a reputable local roofing contractor.
If you’re looking for professional guidance or roofing services in Lansdale or anywhere else in Pennsylvania, our team at North Star Roofing is here to help.
Free Consultation and Estimate on Your Roofing Project
As a homeowner, it’s important to make sure that your family and investment are safe at all times. To help you get a long-lasting, beautiful roof, North Star Roofing is always by your side. If you’re looking for a reliable roofing contractor in Lansdale or Pennsylvania, call us at (484)-302-7663. We will be happy to help you with a free consultation and estimate.


